
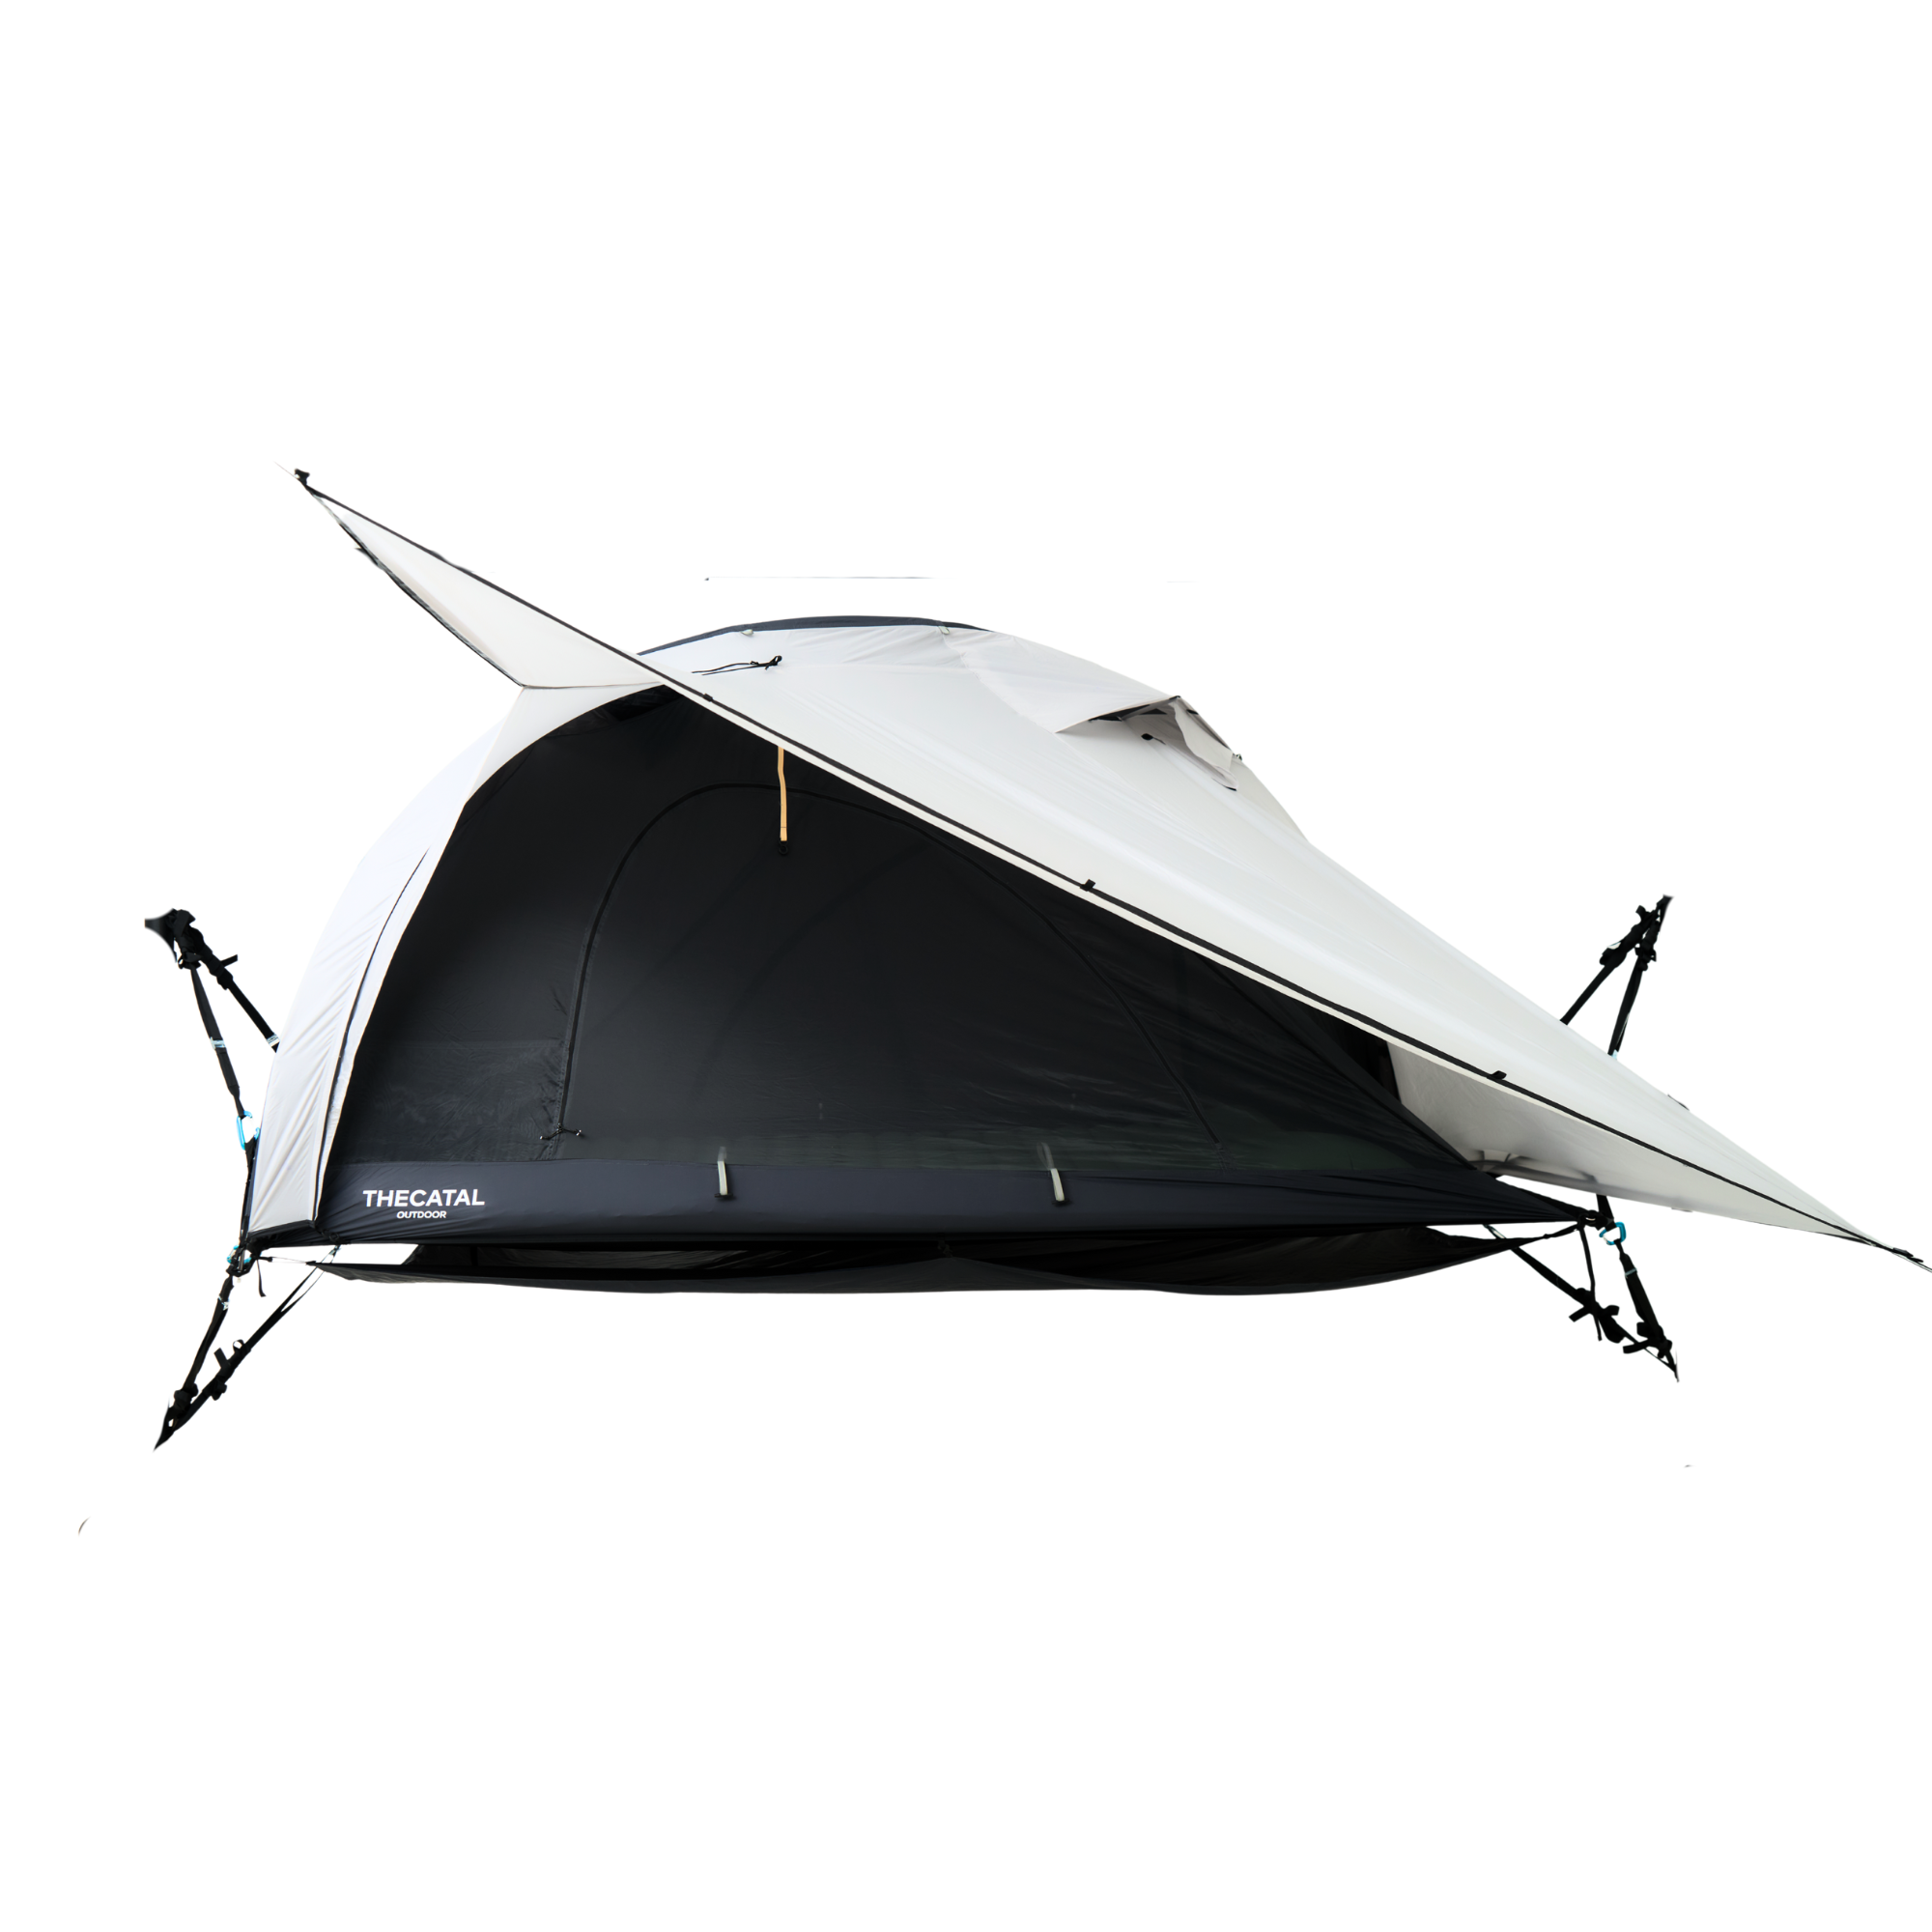
Starting with why features matter
You don’t need every shiny spec, but you do need the right ones matched to your trips; that’s the heart of comparing tents. I learned that the hard way on sections of the Appalachian Trail, and while checking product details from thecatal outdoor and their brand outdoor products, I kept returning to the same set of trade-offs. Think of each feature as a lever: shift one, and others change. We’ll compare those levers so you can choose what to prioritize without second-guessing the checklist.

Weight vs. usable weight (what you’ll actually carry)
Manufacturers list various weights—minimum, packed, and trail weight. Compare trail weight (the tent plus stakes, footprint, and guy lines you’ll carry) across models, not just the headline number. If you’re day-hopping across rocky passes, shave grams; if you expect storms, accept extra weight for sturdier poles. Look for honest lists of included accessories; a “lightweight” tent that omits a footprint can end up heavier in practice.

Pack volume and shape (how it fits your pack)
Two tents can weigh the same but pack very differently. Compare packed length and diameter because long pole tubes can jam a pack or force you to strap gear awkwardly. Cylindrical stuff sacks compact well; odd-shaped compression sacks can solve volume issues but add complexity. Measure how the packed tent will fit your pack’s external straps or internal sleeve before you commit.
Weather protection: fabric denier, coatings, and seam work
Compare fabric denier and the waterproof rating (mm) for floor and fly. A 1,500–3,000 mm fly is fine for most summer storms; 5,000+ mm is better for heavy or prolonged rain. Check seam sealing—factory-taped seams are superior to unsealed seams that require field taping. Look at stretch resistance (ripstop, PU vs. silicone coatings) because a tent that soaks up water and stretches will sag under rain.
Ventilation vs. dryness: condensation realities
Good ventilation cuts condensation more reliably than any marketing claim. Compare vent placement and the number of doors and mesh panels. High mesh-to-fabric ratios mean better airflow but more exposure to wind; dual vents that can be adjusted from inside are especially useful. Remember: a tent that breathes well keeps you drier, even if it’s not the most waterproof on paper.
Freestanding or non-freestanding: setup trade-offs
Freestanding tents are easier to pitch and move, good for quick stops. Non-freestanding designs save weight and pack smaller but need solid staking and often more practice. Compare setup steps and time—if you’re waking at dawn to beat storms, fewer clips and poles matter. Also think about terrain: rocky campsites favor freestanding models that don’t rely on perfect stake placement.
Poles, stakes, and repairability
Compare pole materials (aluminum vs. carbon) and joint systems; replaceable pole segments and common spare sizes make field repairs feasible. Stakes matter more than many hikers assume—thin wire stakes won’t hold in soft soil; heavier aluminum or V-shaped stakes work better. Check for a simple repair kit and whether the brand offers spare parts—small differences here determine whether a broken pole ends a trip or just slows it down.
Livability: floor area, peak height, and vestibules
Compare floor dimensions to the sleeping pad sizes you plan to use; a “two-person” tent might only fit two regular pads tightly. Peak height matters for sitting and changing; if you cook in a vestibule, compare vestibule area and access. Vestibules that fully shelter boots and a small pack save time and comfort in foul weather.
Durability, warranty, and brand support
Compare fabric denier and stress points first, then warranty terms. A generous warranty and responsive customer service are worth a price premium if you plan multi-year use. Look for brands that publish repair guides and sell spare parts—those practical supports keep a tent on the trail longer and reduce mid-trip guesswork.
Common mistakes to avoid
Choosing solely on lowest weight without checking packed volume; assuming “season” labels fully predict performance; ignoring stake quality; buying a tent sized only by the number of people instead of pad dimensions; forgetting that manufacturer weights sometimes omit the stuff sack or stakes. Avoid those by comparing real-world specs and imagining one full camp routine—pitch, cook, sleep, pack—before you decide.
Quick comparative checklist to use at the store or online
Match trail weight with packed volume, compare waterproof ratings for both floor and fly, check seam sealing and repair options, verify vestibule size against your gear, confirm pole and stake quality, and read warranty and parts policy. If two tents tie on specs, pick the one with simpler setup or better ventilation—those deliver fewer surprises in the rain.
Final, steady thought
Compare the levers that actually affect your nights: carry weight you can live with, shelter that handles likely weather, and details that make pitching and repairs straightforward. That balance is what keeps a trip calm and safe, and it’s why I trust tents designed around practical trade-offs rather than pure numbers—just like the practical balance I look for in THECATAL.