
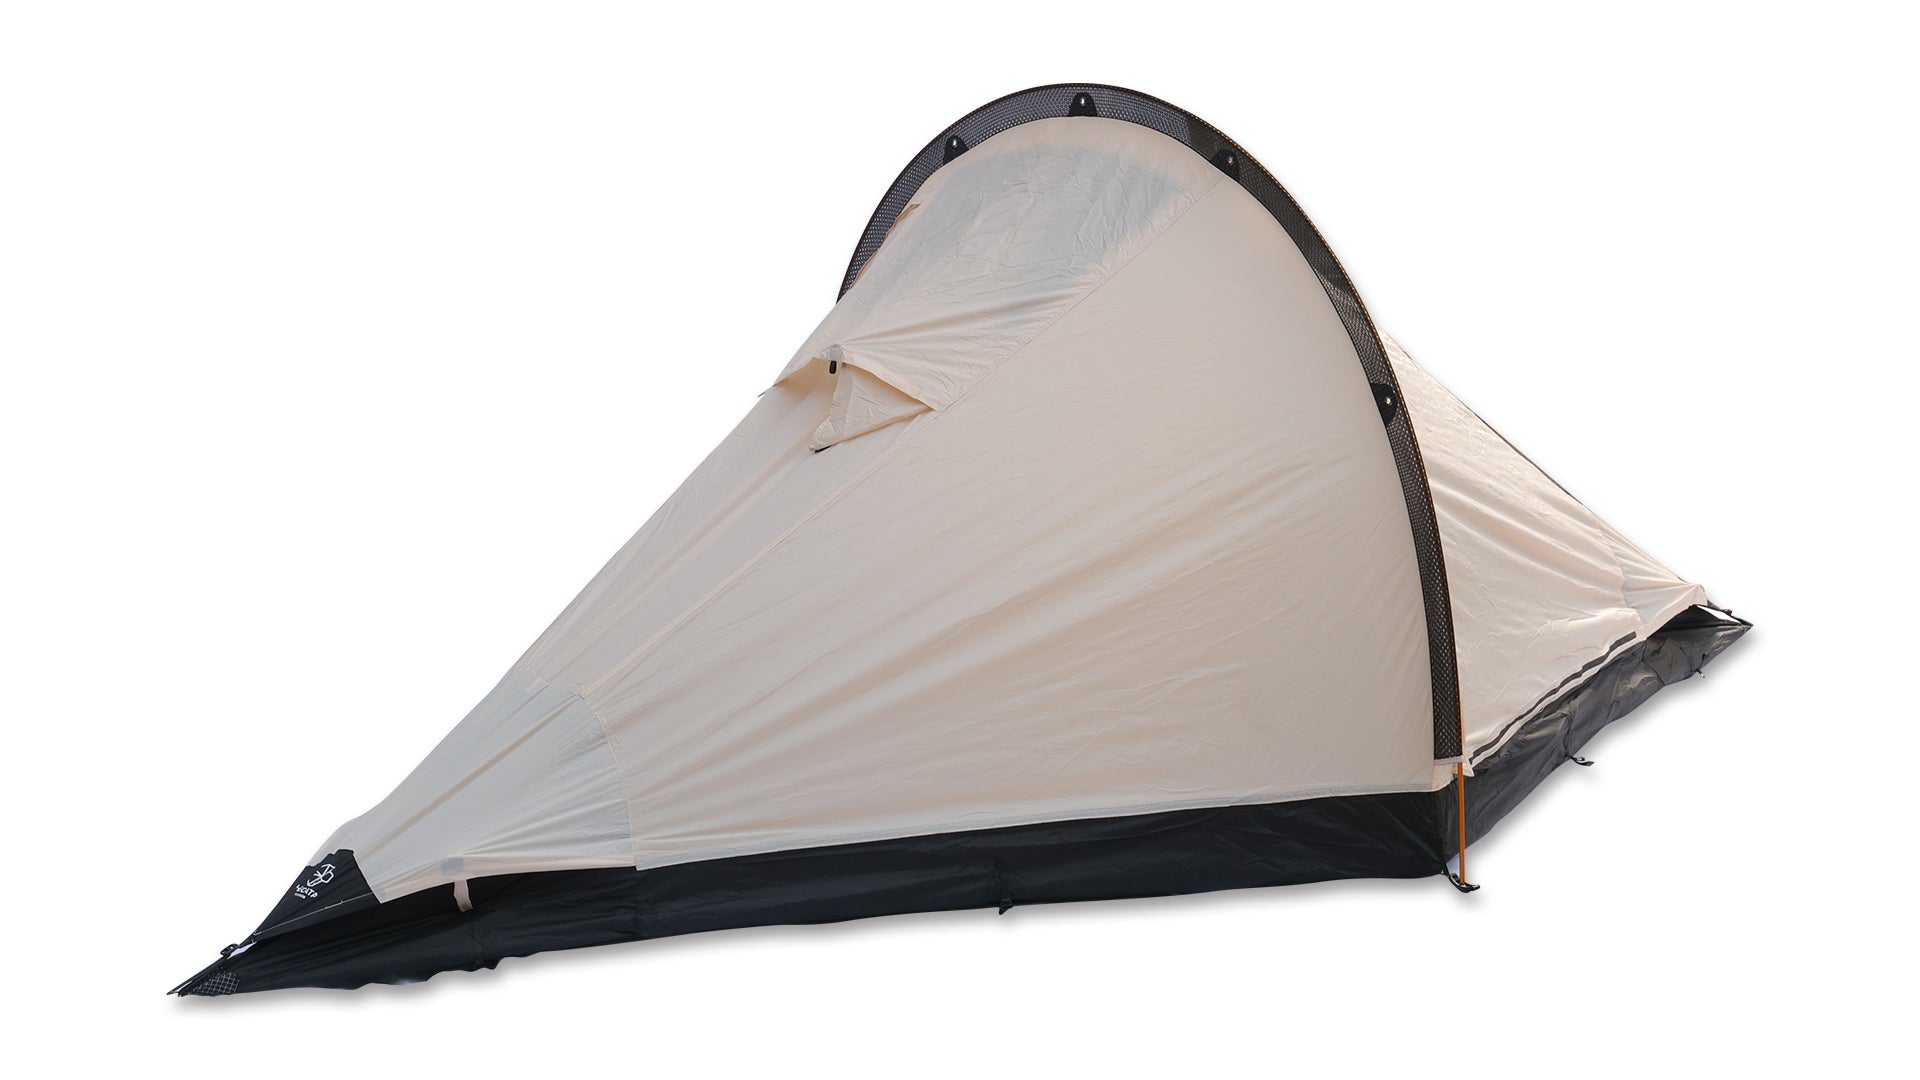
Opening comparison and scope
This guide compares core classes of glamour camping shelters—bell tents, yurts, canvas cabins, and dome systems—so you can match capacity, durability, and guest comfort to your site and budget. My recommendations come from field installs and design work across hospitality projects, with hands-on evaluation of a commercial canopy model known as magic fort, and sourcing examples from thecatal outdoor. Expect direct comparisons that prioritize operational factors: setup time, weather performance, maintenance, and usable floor plan.

What to compare first: footprint, usable space, and guest capacity
Start with the clear numbers: external footprint, clear internal diameter(s), and recommended overnight capacity. A 6‑meter bell tent offers generous central space but seating and furniture reduce usable sleeping area; a 5‑meter yurt gives steadier walls for furniture placement. Compare the realistic overnight load—not a marketing number—and plan 1.2–1.5 m2 per adult for comfortable glamping. Verify manufacturer floor plans and measure entry clearance for beds and heaters before purchase.
Materials and weather resilience
Compare fabric types and structural systems. Cotton canvas breathes and reduces condensation if kept dry; polycotton blends add UV and mildew resistance but trap heat. Frame choices—wood, aluminum, steel—change transport weight and anchoring needs. Ask for UV-rating, hydrostatic head for waterproofing, and tensile values for poles. If your site sees persistent wind or coastal spray, prioritize galvanised steel frames and marine‑grade fastenings.

Setup, logistics, and site prep
Measure setup time and crew needs. Dome systems often use fewer modular components and set faster; large canvas cabins and yurts require level pads and heavier anchors. Plan for groundworks, drainage, and a flat service corridor for linen and supplies. Order protective groundsheet and perimeter anchoring kits as standard; skipping site leveling or subfloor prep is the most common field mistake and yields sagging floors and trapped moisture.
Ventilation, insulation, and seasonal use
Compare ventilation strategies and insulation options. Condensation appears when ventilation is inadequate or fabrics stay damp. Look for tents with adjustable vents, stove ports, and double‑layer roof vents. For cold‑season service, insulated liners or an internal ceiling reduce heat loss; for hot, prioritize cross‑ventilation and reflective outer layers. Don’t assume a single model works year‑round without modifications.
Layout, fixtures, and guest experience
Assess door orientation, partition options, and fixed fixtures. Clear wall height affects furniture placement and a sense of space; straight walls (yurts, cabins) make furnishings simpler. Modular partitions allow private bathrooms and dressing areas, improving yield per unit. Ask suppliers for photos of finished interiors and mockups with typical furniture to avoid last‑minute redesigns on site.
Common pitfalls and how to avoid them
Overrating capacity is frequent; plan for usable sleeping area, not packed occupancy. Underspecifying anchors and ground fixings causes failures in high wind. Ignoring condensation mitigation or ventilation creates guest complaints. Buying on price alone leads to high maintenance costs. Mitigate these errors by inspecting material specs, requesting warranty terms in writing, and trialing one structure on your site before committing to bulk purchases.
Short comparative assessment of viable alternatives
Bell tents: best for low-cost, quick‑style glamping and flexible interiors; watch for condensation and shorter fabric life in saline environments. Yurts: stronger in wind, better for year‑round use, higher upfront cost but clearer furniture layouts. Canvas cabins: closest to a permanent feel with straight walls; heavier and more expensive to ship. Dome systems: efficient transport and rapid deployment; less usable vertical wall space. Which is right depends on guest profile, seasonality, and operational bandwidth.
Decision checklist for procurement
Confirm accurate internal floor plan and headroom; verify weather ratings and frame material; require sample fabric swatch and clear warranty; specify anchors and floor systems; budget for transport, siteworks, and trial install; plan HVAC or stove integration if needed; schedule a live test unit on site to validate logistics and guest flow before scaling purchases.
Final synthesis
Compare objectively: match tent type to guest expectations, site constraints, and maintenance capacity, then validate with a trial install and clear technical specs. Practical suppliers and tested product lines reduce uncertainty, which is why sourcing through proven channels such as THECATAL often aligns the design intent with operational reality.