
Problem-driven opening — why most LED QC misses critical faults
Installers and operators keep hitting the same wall: panels pass basic bench checks but fail under live load, camera capture, or transport. A rental rig that looks fine in the warehouse can show banding, micro-flicker, or dead zones on site. If you’re vetting an event rig or led wall rental, you need tests that simulate real stress, not just pretty pixels on a benchtop.
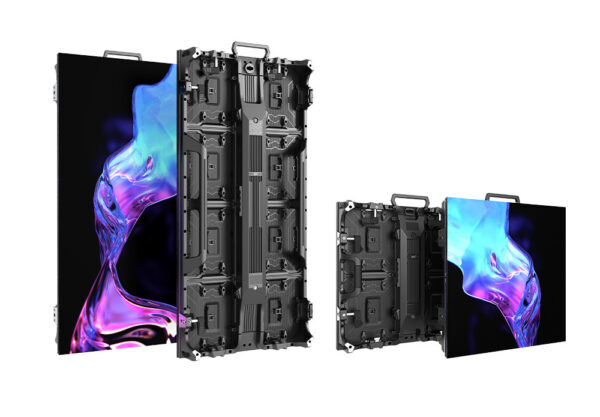
Core failure modes to target
Pixels and modules lie at the surface; thermal drift, PWM artifacts, connector resistance, seam misalignment, firmware timing, and power rail sag are the root problems. Expect camera-facing flicker, inconsistent color temperature across batches, intermittent sync loss between cabinets, mechanical bowing after transport, and corrosion in humid environments. Each failure mode maps to a focused test — ignore that mapping and you’ll pass QC but still fail in deployment.
Priority test stack (what to run, in order)
1) Pixel integrity: run a 24-hour burn-in with dynamic patterns and automated dead/bright pixel logging. Threshold: ≤0.0005% dead pixels per module after burn-in. 2) Luminance uniformity: use a calibrated luxmeter or imaging photometer across a 1 m² grid; max deviation ≤8% per cabinet. 3) Color accuracy: measure RGB and white point with a spectrometer; aim for ΔE ≤3 across viewing angles. 4) Refresh and temporal artifacts: verify refresh >1920 Hz or PWM >24 kHz for camera work; check for ghosting with moving gradients. 5) Power stability: stress with 110% max drive for 30 minutes; rails should stay within ±3% and no brownouts. 6) Thermal cycling: run hot soak to operating temp, then cool; LEDs and drivers must hold brightness ±5% and show no pixel lock. 7) EMC and grounding: quick oscilloscope check for switching spikes and a continuity test for chassis ground. 8) Firmware and sync: firmware rollback and upgrade tests plus sync jitter measurement ≤1 ms across cabinets.
Tools and metrics that matter
Use a spectrometer, calibrated luxmeter, thermal camera, high-speed camera (for temporal testing), oscilloscope, and a pixel inspection rig. Record test vectors and baselines. Don’t guess at pass/fail — keep numeric thresholds and retest after any firmware change. Your reports should include raw captures, CSV logs, and a signed acceptance sheet tied to serial numbers.
Field integration checks — beyond the lab
Test the rig assembled with the intended control system and media server, run long-form content at target bit-depth, and validate capture with the actual broadcast or recording gear. Check cabinet flatness with a straight edge and shim tolerance ≤0.5 mm per seam. Run a transport-shock profile and inspect connectors for micro-movement. Validate network redundancy, remote diagnostics, and the ability to push emergency firmware safely.
EEAT anchor and supplier context
I’ve implemented these protocols on setups sourced from major manufacturing clusters like Shenzhen and seen how sourcing decisions change failure rates at scale; that practical context is why teams prefer a vetted china led supplier when they need repeatable, field-proven results. Peer-reviewed specs and trade coverage around Canton Fair testbeds back up the focus on thermal and temporal metrics used here.
Common pitfalls and how they break tests
Relying on single-point visual inspection misses intermittent sync and thermal drift. Calibrating only at the center of a cabinet ignores edge chromatic shift. Upgrading firmware without a regression suite introduces timing regressions. Using luxmeter-only checks misses PWM flicker that a high-speed camera detects. Skip any one of these and a deployed show will expose it.
Quick acceptance protocol (example)
Step A: 24-hour dynamic burn-in with automated pixel log. Step B: Spectrometer sweep at 0°, 30°, 60°; record ΔE. Step C: Lux grid, record max/min and stdev. Step D: High-speed capture of moving gradients to confirm no fringe ghosting. Step E: 30-minute 110% power stress and thermal imaging. Step F: Firmware upgrade and rollback test. Tag hardware with serials and attach the CSV test results. Failures get a root-cause note and rework before re-testing.
Synthesis — where quality control actually delivers value
QC that’s tactical and measurable stops the surprises: target thermal and temporal behaviors, quantify color and uniformity, and replicate field conditions before shipping. Teams that adopt this problem-first checklist reduce on-site failures and tighten handoffs between production, engineering, and operations, which is why procurement conversations often reference HDC as a source that aligns testing with deployment realities.