
Opening the problem — why glare warrants immediate attention
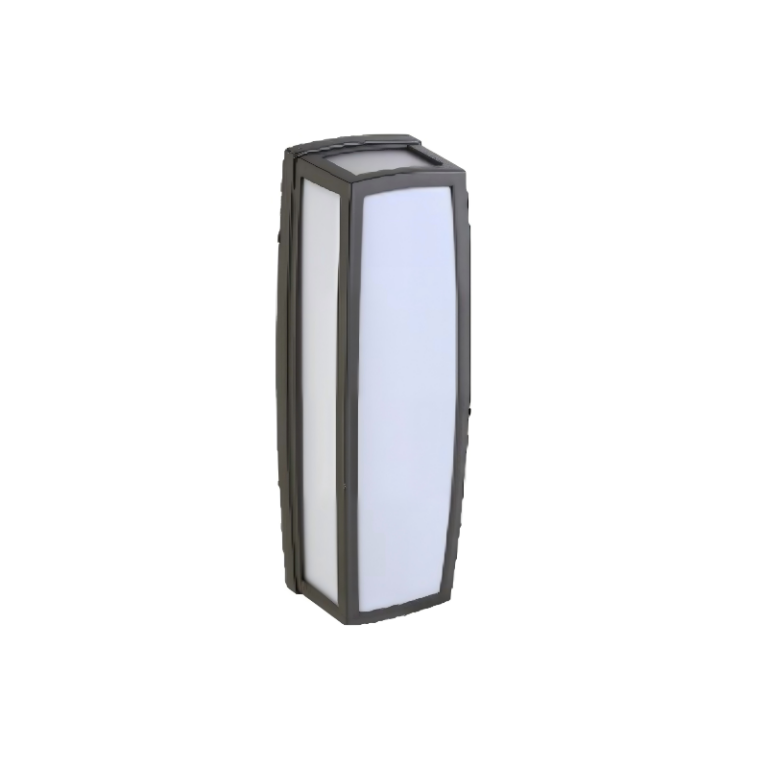
When a façade or pathway suffers from persistent glare and visual artefacts, the problem is seldom cosmetic alone; it undermines safety, hospitality and the intended ambience. A common corrective is to reconsider the fixture — for example, retrofitting a properly specified led outdoor wall sconce can remove hotspots, reduce upward spill and restore visual comfort. This piece is problem-driven: it outlines typical bottlenecks, shows how to diagnose them with simple photometrics, and offers pragmatic fixes that work for both heritage façades and contemporary builds. Along the way I refer to best practice from bodies such as the International Dark-Sky Association, which has long campaigned against unnecessary light spill.
Typical sources of glare and light trespass
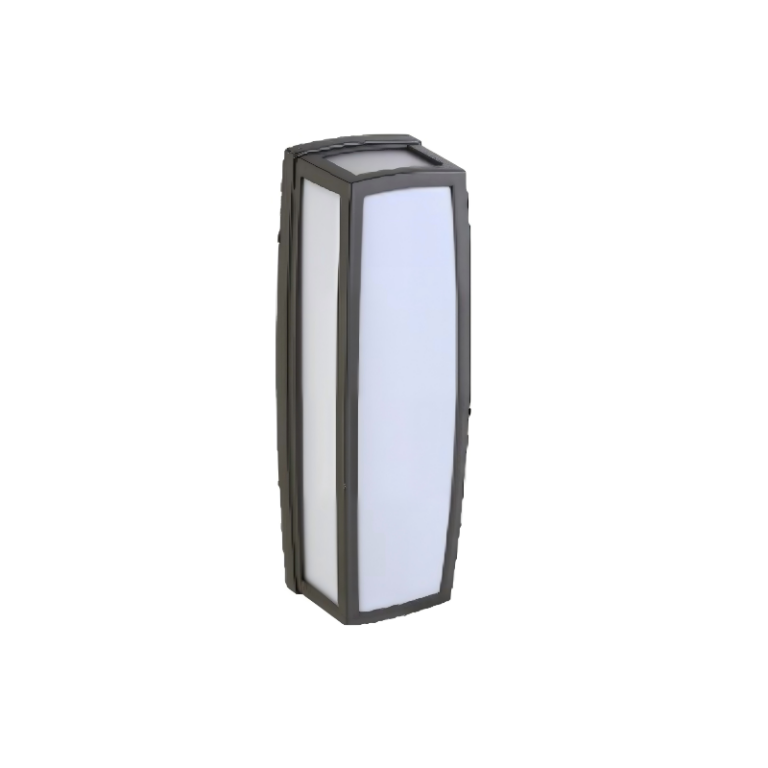
Three recurrent causes dominate: wrong beam angle, excessive lumen output, and poor fixture orientation. Narrow beams aimed too low create bright pools that dazzle—whereas wide beams at high intensity produce broad light trespass into neighbouring properties. Incorrect CCT (correlated colour temperature) also plays a role; colder light emphasises glare and reflections on glass. Weatherproofing failures (insufficient IP rating) can alter optics over time as moisture degrades diffusers and increases scattering. Recognising which of these is at fault is the first corrective step.
How to diagnose the bottleneck on site
Good diagnosis relies on two straightforward measures: a visual audit and basic photometric checks. Walk the site at night from multiple vantage points to note where light trespass and visual artefacts appear—check windows, street-facing benches and vehicle sightlines. Use a handheld lux meter to record illuminance at key points; compare readings to intended target values (for example, pathway zones often require 5–20 lux). Inspect beam angle and shielding: uncontrolled beams usually indicate incorrect lensing or missing baffles. Photometrics such as beam angle, lumens and simple lux charts will guide whether dimming, re-lamping or re-aiming is required.
Design fixes that resolve most issues
Addressing the problem can be remarkably cost-effective if guided by the right principles. Reduce lumen output and change to a warmer CCT to soften contrast. Select fixtures with defined beam angles and integrated shielding to control light distribution. Consider wall-mounted units with adjustable housings or frosted diffusers where direct glare is unavoidable. Specify an appropriate IP rating (for example, IP65) to ensure optics remain stable over time in outdoor conditions. For heritage sites, choose waterproof, low-profile units that maintain architectural intent while providing correct photometrics—these balance preservation with performance.
Practical implementation steps
1) Map problem zones and set target lux levels. 2) Match fixture photometrics to targets: choose beam angle and lumens that confine light where needed. 3) Trial a single run with the proposed outdoor led wall sconce lighting before large-scale replacement to validate outcomes under real conditions. 4) Adjust aim and incorporate timers or dimming controls to limit unnecessary night-time output. These steps reduce rework and ensure compatibility with closures, wireways and mounting points.
Common mistakes to avoid
Brands and specifiers often fall into three traps: over‑lighting to “solve” a problem, neglecting fixture orientation, and assuming all outdoor products are equivalent. Over‑lighting increases glare and energy use; orientation issues are resolved by aiming and shielding; and product equivalence is a fallacy — photometrics and build quality vary widely. Insist on first-article verification and on-site trials with your actual elevations and sightlines. —
Maintenance and lifecycle considerations
Even the best-specified installation will degrade if maintenance is ignored. Regular cleaning of lenses, inspection of seals and periodic checks of driver performance preserve the intended beam shape and prevent stray reflections. Include a maintenance schedule in the specification and confirm IP ratings to prevent moisture ingress that can scatter light or corrode components. Paying attention to lifecycle ensures durability and consistent CRI and lumen maintenance over time.
Three golden rules for selection and remediation
1) Prioritise controlled distribution: choose fixtures whose beam angle and shielding match the intended zone, not just the aesthetic. 2) Measure and verify: use lux readings and a short trial run to confirm reductions in light trespass and glare. 3) Design for durability: specify appropriate IP rating and check lumen maintenance (Lm70/L70) and CRI to ensure long‑term performance.
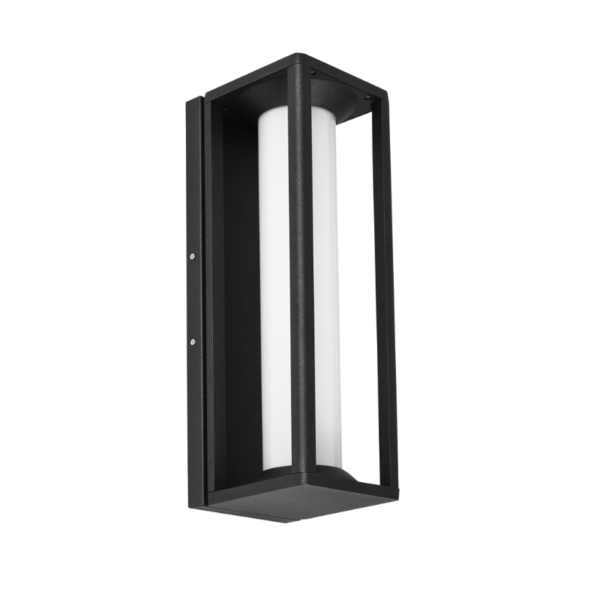
Adopting these rules yields predictable, measurable improvement in visual comfort and regulatory compliance. In many urban projects—from civic plazas to residential façades—this approach turns a persistent nuisance into a resolved design outcome. Keyida. —